Streamlining your data-driven API - The Power of DevOps
In my previous post, I briefly mentioned several options to streamline the process to implement a data product. These options included managed cloud services specially designed to hide the complexity of low-level configurations while allowing their users to focus on business logic. While making use of these cloud services is already a huge leap toward a fully automated, streamlined, and cost-efficient implementation process, a lot needs to be done on the client’s side in order to provide a coherent flow between local development and highly automated cloud services.
Enter Continuous Delivery For Project Viability
Previously, I also highlighted the importance of reducing time-to-market when implementing new data products. The sooner a product makes it to the user’s hands, the faster we get valuable feedback that will help us identify design flaws, bugs, and gaps in functionality. This increases the overall value of the product. In simple terms, the importance of expediting the product shipping process cannot be overemphasized. However, in order to successfully accelerate product release, it is necessary to establish a process to build, test, and ship features in an automatic and reliable way.
This automatic process is the essence of DevOps operations.

What is DevOps? (Source: AWS DevOps)
As shown in the image above, the DevOps process comprises all the building blocks of what Humble and Farley describe as Continuous Integration (CI) and Continuous Delivery (CD) ([1]). In simple terms, Continuous Delivery is a software development practice that aims to have a production-ready product at all times. To achieve this, product features are developed in small but frequent iterations and then immediately deployed to and tested in one or more pre-production environments before they are delivered to customers.
The key terms here are small and frequent. Smaller releases reduce the scope of new features and thus the time needed to resolve any potential problems. Similarly, a sound and reliable set of automated tests allow for the frequent deployment (either automatic or human-approved) of new features to a testing or production environment. This automated set of tests can also provide immediate feedback on the production-readiness of the product as a whole, provided these tests cover key functional aspects of the product. Finally, it is possible to have different (production-ready) versions of the product and a system to deploy any of them at any given time ([2], [3], [4]).
The next logical step in the process to deliver better and faster software products is to see the product as a market experiment [5]. This step is usually achieved once CI and CD have been successfully implemented. In other words, the speed of delivery provided by continuous deployment/delivery creates an ideal scenario in which user feedback is used to determine future features. Over time, this cycle turns into a useful feedback loop when the product’s initial features become the baseline that will improve subsequent features by means of useful user insights. A nice consequence of this is the fact that features that are implemented using actual user feedback provide laser-focused value as opposed to those based on simple guesses and theoretical hypotheses, thus eliminating software bloat.
This post is the first one of a series that describes the process to implement data-driven projects in a streamlined manner.
The main goal of this series is to show the process to infuse the activities of the development team (data engineers, ML engineers, data scientists, etc.) with the benefits of a DevOps culture.
In this post, we will briefly, but concisely, cover all the topics related to a data-driven development pipeline. Specifically, we will take a look at:
- The steps to create an environment for data-driven development in a repeatable, automatic and effective way
- The process to add testing capabilities to your data-driven projects
- The use of managed cloud services to showcase their benefits against the use of local libraries and frameworks
Let’s get started!
First Automation Step - Outline and script the process
The first step in creating an automated and repeatable process for data-driven development is to automate the process from the very beginning. Specifically, the process to build, test, and deploy our data-driven products should be orchestrated by an automated tool so that each step of the process can be executed without any human intervention.
A good approach to achieve this is to use a Makefile to organize the steps necessary to set up and install a development environment ([[6]] (#ref6)). Makefiles are ideal as they are available in any Unix-like system and allow for the topological organization of the deployment steps and their dependencies. Initially, a Makefile could contain steps for setup (create an environment), install (install initial or new packages), and uninstall (remove the environment entirely).
The next step in the automation process is to create a way to specify in detail the packages and libraries that the environment will provide by default. In the Python world, for example, this can be achieved with the well-known requirements.txt file.
I strongly recommend using anaconda instead of pip for environment and package management. A nice article regarding this topic can be found here.
A sample Makefile is shown below:
 1setup:
 2	conda create --name data-driven-project --yes
 3
 4install:
 5	conda install --name data-driven-project --yes --file requirements.txt
 6
 7lint:
 8	pylint --disable=R,C datadrivenlibs
 9
10test:
11	PYTHONPATH=. && pytest -vv --cov=datadrivenlibs tests/*.py
12	PYTHONPATH=. && pytest --nbval-lax notebooks/*.ipynb
13
14uninstall:
15	conda env remove --name data-driven-project --yes
16
17all: install lint test
As shown in the ‘Make recipe’ above, we first create a rule for setting up the environment, i.e. using conda to create it. Then, we have a rule to install the necessary packages using a requirements file. It is important to separate the environment creation from package installation, as we may need to rerun the installation later to install new packages. Finally, the lint and test rules are used every time we implement/update a library or model. Note that the test rule uses PyTest to test both Python libraries and Jupyter notebooks. More on this later.
Once the environment has been correctly set up and all its libraries correctly installed, we can activate it using the command below and are now ready to start implementing useful functionality.
$ source activate data-driven-projectFor demonstration and testing purposes we will be using the Amazon Customer Reviews Dataset. The actual dataset can be downloaded from S3 using the command below, provided you have the AWS command line interface properly installed:
$ aws s3 cp s3://amazon-reviews-pds/tsv/amazon_reviews_us_Digital_Video_Download_v1_00.tsv.gz . Creating the First Library
We will now create a simple Python library to download the dataset from S3. For this, we will use the AWS SDK for Python or simply Boto. Note that our recently created environment already has this package installed.
 1import boto3
 2import logging
 3
 4log = logging.getLogger("DataDrivenProject")
 5
 6def download(bucket, key, filename, resource=None):
 7    if resource is None:
 8        resource = boto3.resource("s3")
 9
10    log.info("Downloading: %s, %s, %s", bucket, key, filename)
11
12    resource.meta.client.download_file(bucket, key, filename)
13
14    return filename
Along with this library, we will now create a simple unit test for it. For this, we will use Moto to mock an S3 bucket:
 1from moto import mock_s3
 2from datadrivenlibs.s3 import download
 3import boto3
 4import sys
 5
 6sys.path.append("datadrivenlibs")
 7
 8@mock_s3
 9def test_s3_download():
10    bucket = 'test-bucket'
11    filename = 'some-file.txt'
12    key = 'some-folder/' + filename
13
14    conn = boto3.resource('s3', region_name='us-east-1')
15    conn.create_bucket(Bucket=bucket)
16    conn.Bucket(bucket).put_object(Key=key, Body='Some content')
17
18    filename_test = download(bucket=bucket, key=key, filename=filename, resource=conn)
19
20    assert filename_test == filename
This new library is now ready to be used in the Python interpreter, IPython, or any Jupyter notebook (see next section), provided that the path to the folder containing it is added to the PYTHONPATH variable.
Adding Jupyter Notebooks Integration
A very nice feature to add to a data-driven project is Jupyter notebooks. A lot has been said about the advantages of using them as part of any data-driven effort, so I will not go into details here. In order to access the Jupyter local interface, we simply go to the root folder of our project and run the command below:
$ jupyter notebookThis will open the local Jupyter web interface. Once in there, we simply click on New Python 3 Notebook and we are ready to start playing with it. A simple exploration of the customer reviews dataset with Pandas is shown below:
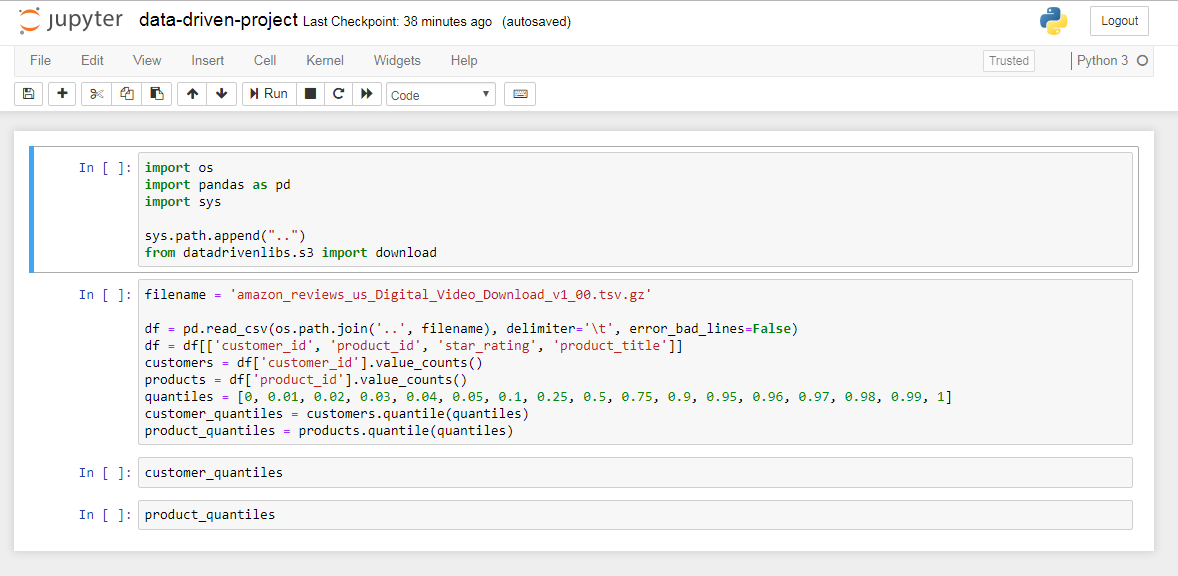
Simple data exploration with Pandas
As shown previously in the Make file, Jupyter notebooks can also be part of the testing process. This is done by using the nbval Py.test plugin.
Adding Continuous Delivery
With the make file, libraries, and notebooks already in place, we are now ready to fully automate our process by adding continuous delivery capabilities. This way, every time we implement a code change, the build, test, and deploy steps will be executed automatically.
Adding continuous delivery capabilities implies the use of a build server that can take care of this automatic execution with the right configuration. There are several well-known alternatives to set up a build server. Among others, we have Jenkins, CircleCI, and CodeShip. However, setting up a local build server is not a trivial task, as the installation, configuration and maintenance tasks may get overwhelming over time.
As expressed in previous posts, managed cloud services offer a great alternative to local build servers due to the flexibility and ease of maintenance they offer. For our project, we will use AWS CodePipeline.
A great advantage that CodePipeline provides is its seamless integration with other cloud services, GitHub (by means of AWS CodeBuild), and Docker. Plus, its configuration can be expressed as a simple YAML file containing all the commands that are run locally (‘make test’ for example).
To get started with AWS CodePipeline, we first need to have an AWS account properly configured. Then, once in the AWS console we access the AWS CodePipeline service and start creating a new pipeline as shown below:
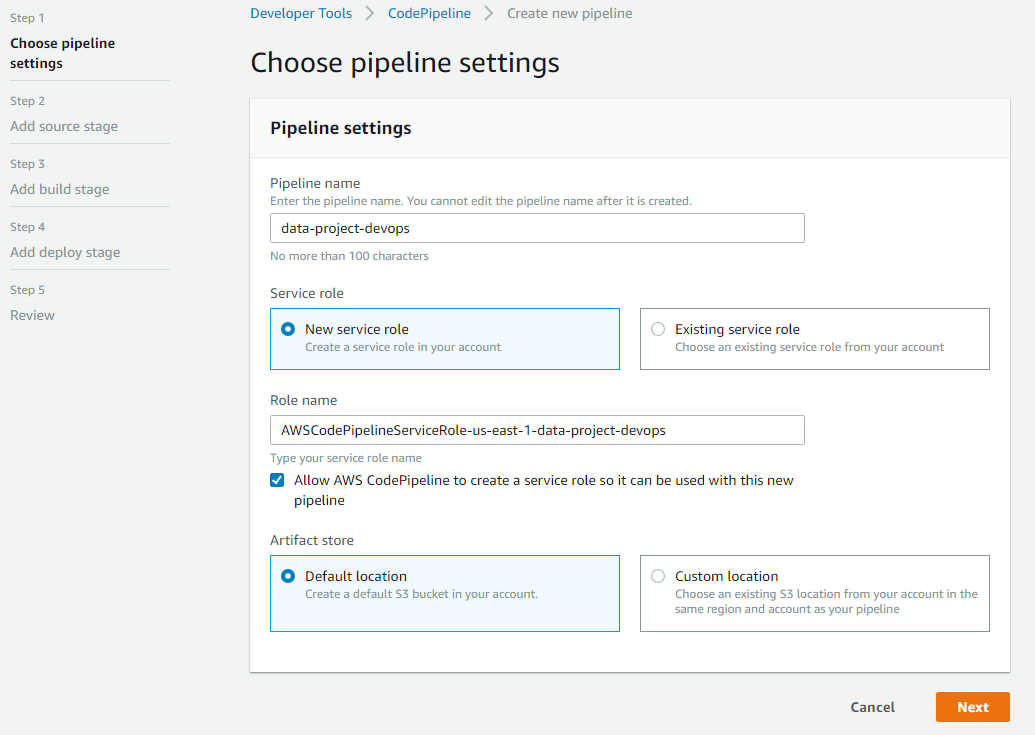
AWS CodePipeline initial configuration
Then, we specify the source provider (GitHub in our case), the project, and its respective branch. Note that the use of GitHub webhooks is what allows us to trigger the building process every time there is a code change:
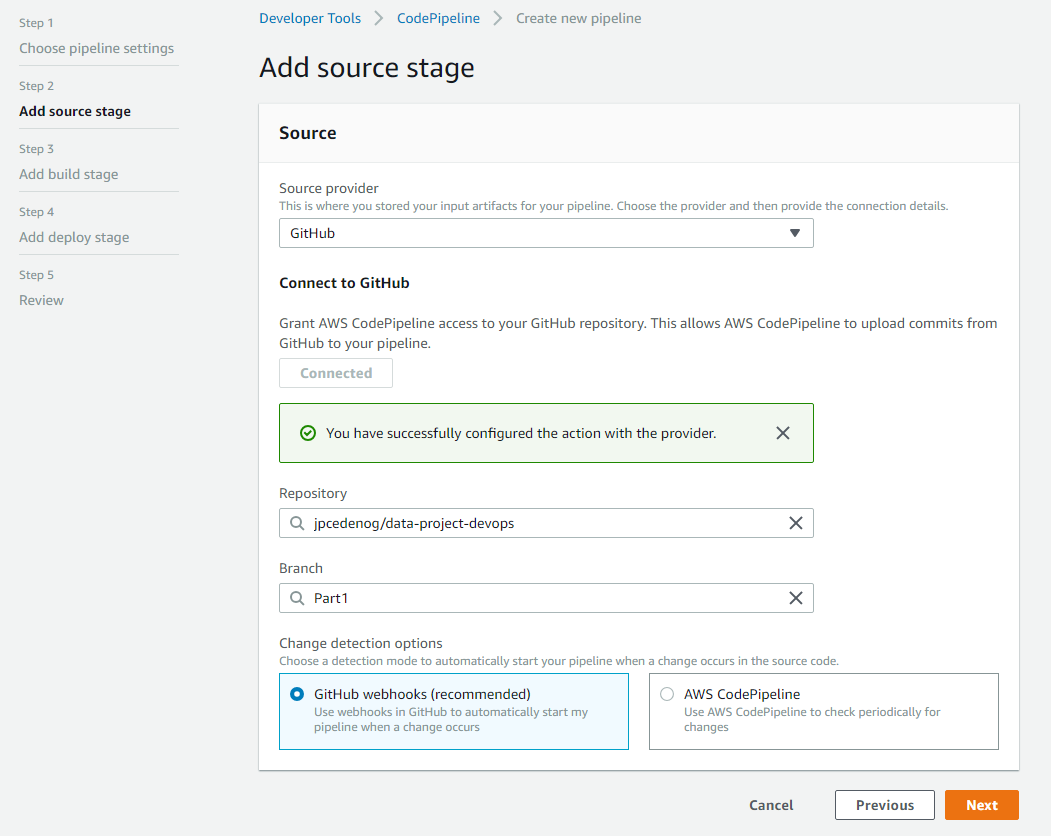
AWS CodePipeline source configuration
In the third step, we provide the build provider. In order to ensure seamless integration, we will use AWS CodeBuild. For this, our project needs to contain a buildspec.yml file which will specify all the build phases and the respective commands for each one. It is possible to enter the build commands manually. However, in order to keep the process repeatable, it is better to specify these commands by means of a text file.
A sample buildspec.yml file is shown below:
 1version: 0.2
 2
 3phases:
 4  pre_build:
 5    commands:
 6      - echo Build started on `date`
 7      - echo "Creating environment..."
 8
 9  install:
10    commands:
11      - echo "Upgrade Pip and install packages"
12      - pip install --upgrade pip
13      - conda update conda
14      - apt-get update && apt-get install -y build-essential
15      - echo "channels:\n  - defaults\n\n  - conda-forge" > ~/.condarc
16      - make setup
17      - make install
18      - mkdir -p ~/.aws/
19      # Moto needs an AWS credentials file properly configured. However, these do not need to be real...
20      - echo "[default]\naws_access_key_id =  FakeKey\naws_secret_access_key = FakeKey\naws_session_token = FakeKey" > ~/.aws/credentials
21
22  build:
23    commands:
24      - echo "Run lint and tests"
25      - conda env list
26      - export PATH=$PATH:/usr/local/envs/data-driven-project/Scripts
27      - make lint
28      - PYTHONPATH=".";make test
29
30  post_build:
31    commands:
32      - echo Build completed on `date`
CodeBuild also allows us to specify a custom Docker image which the build server will be created from. Since anaconda is an essential part of our build process, we use the miniconda3 image provided by Continuum. The steps to configure CodeBuild are shown below:
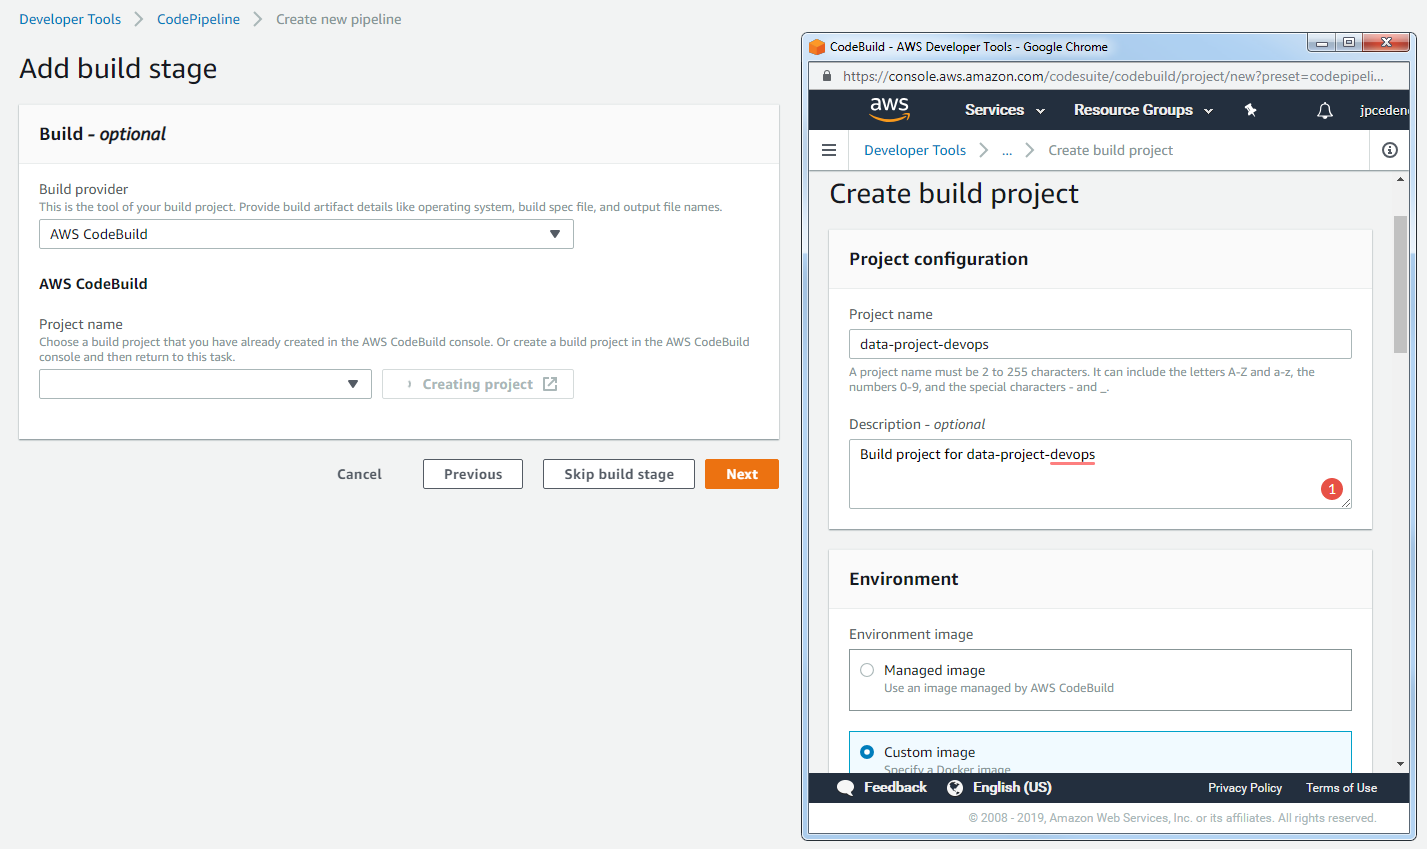
Configure the build provider
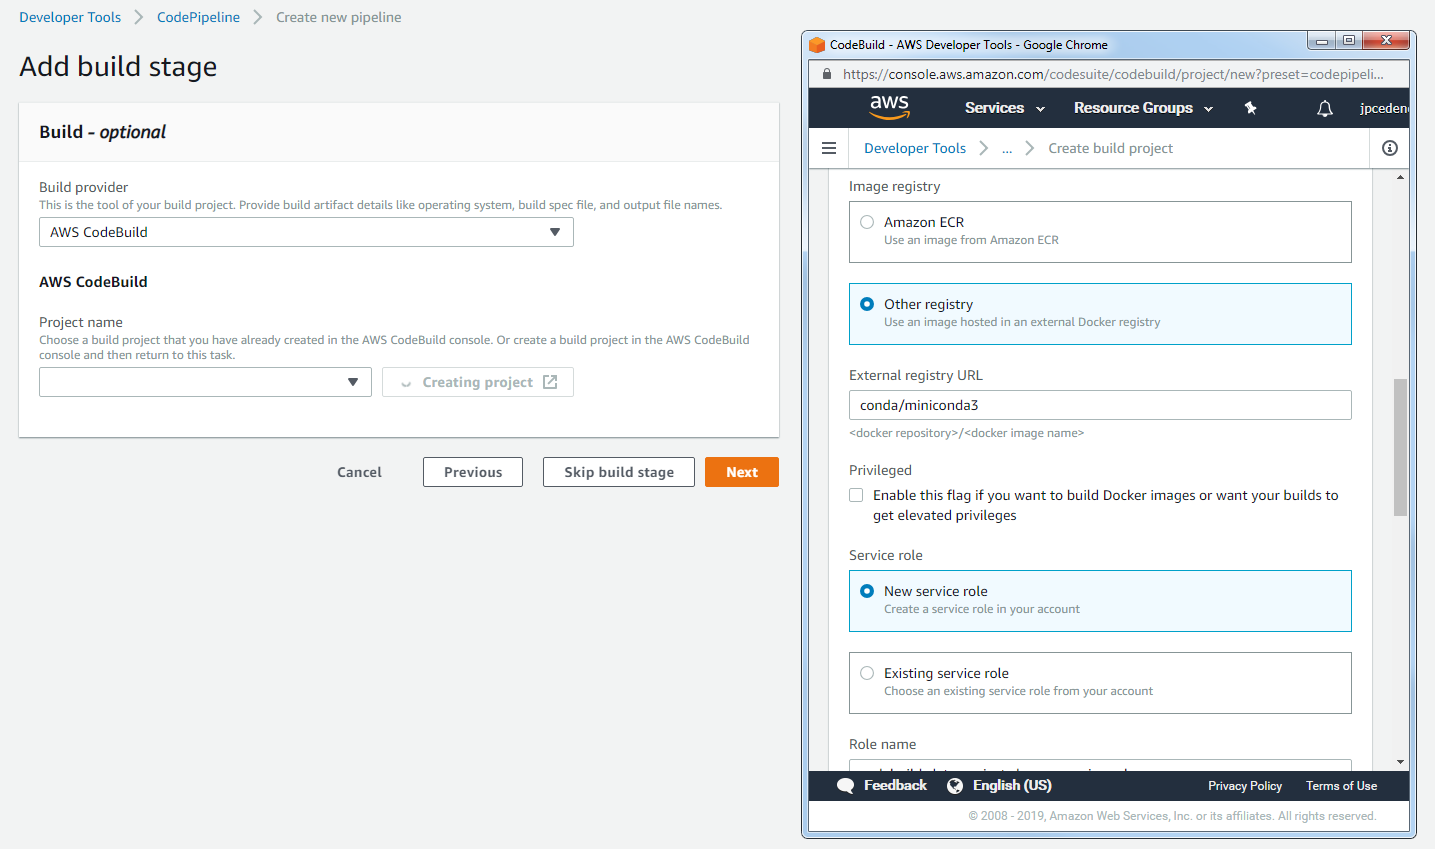
Specify a custom Docker image for build server
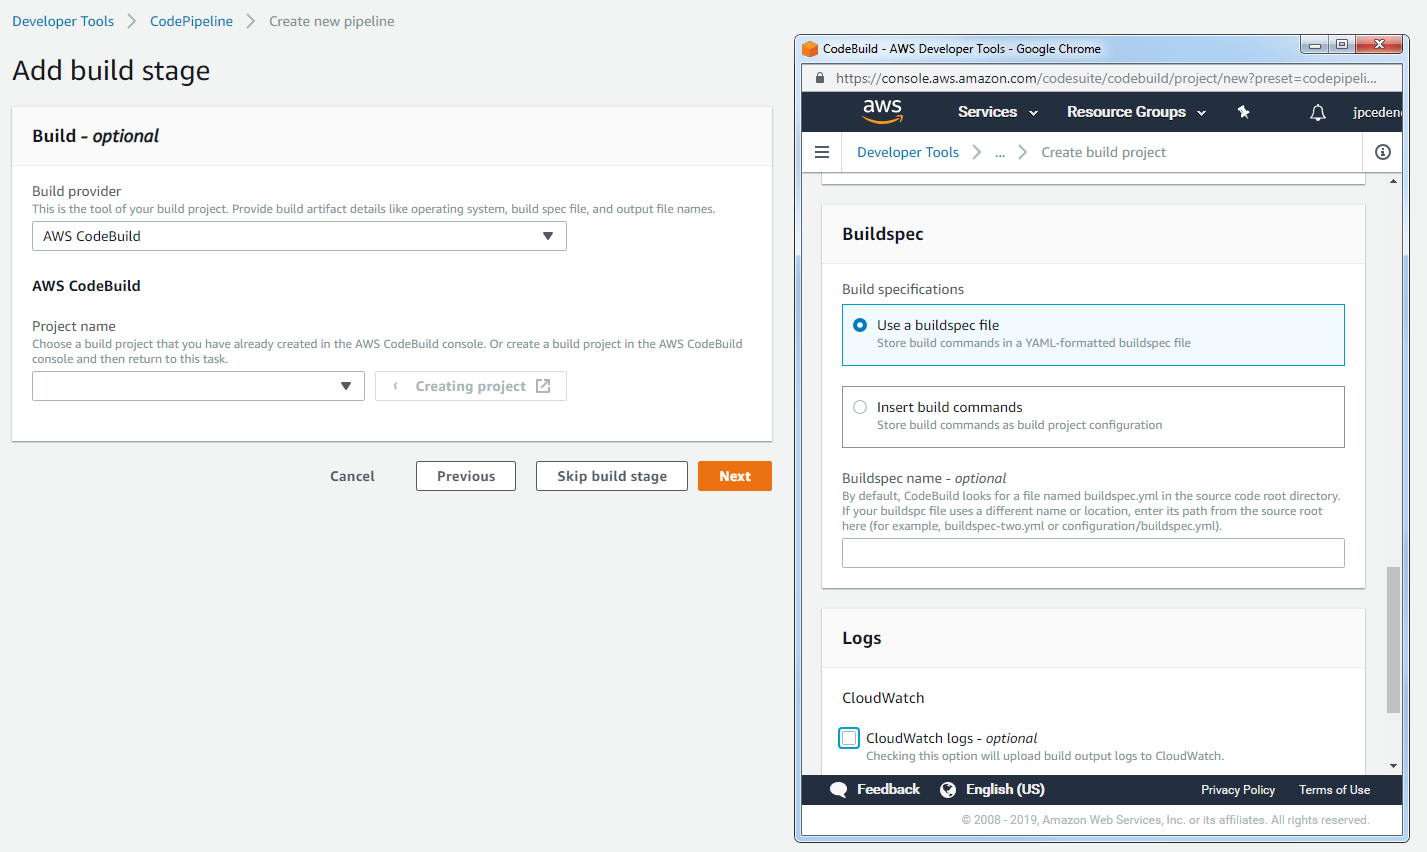
Configure the build specifications
In the last step, we have to set up the deployment step of our pipeline. It is in this step where we put the icing on the cake. Once a change has been properly implemented, built, and tested, the required artifacts are created and deployed to the respective environments. Specifically, for a data-driven project, this means that changes to our models, libraries, and APIs can be immediately available in a production environment without human intervention.
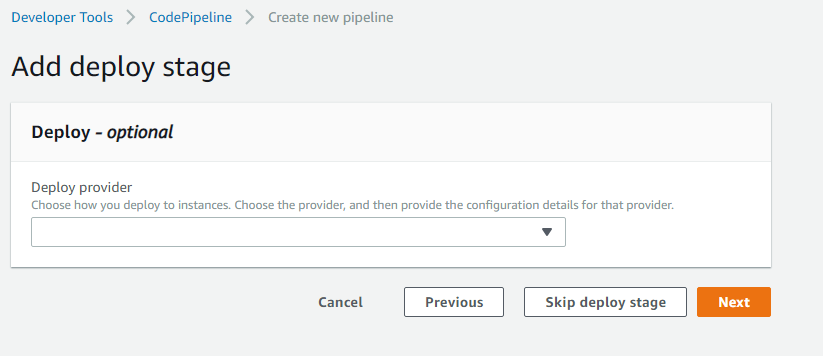
Set up the deploy provider
The deployment step will be covered at length in future posts.
After all the steps have been correctly configured, our pipeline is ready to be used.
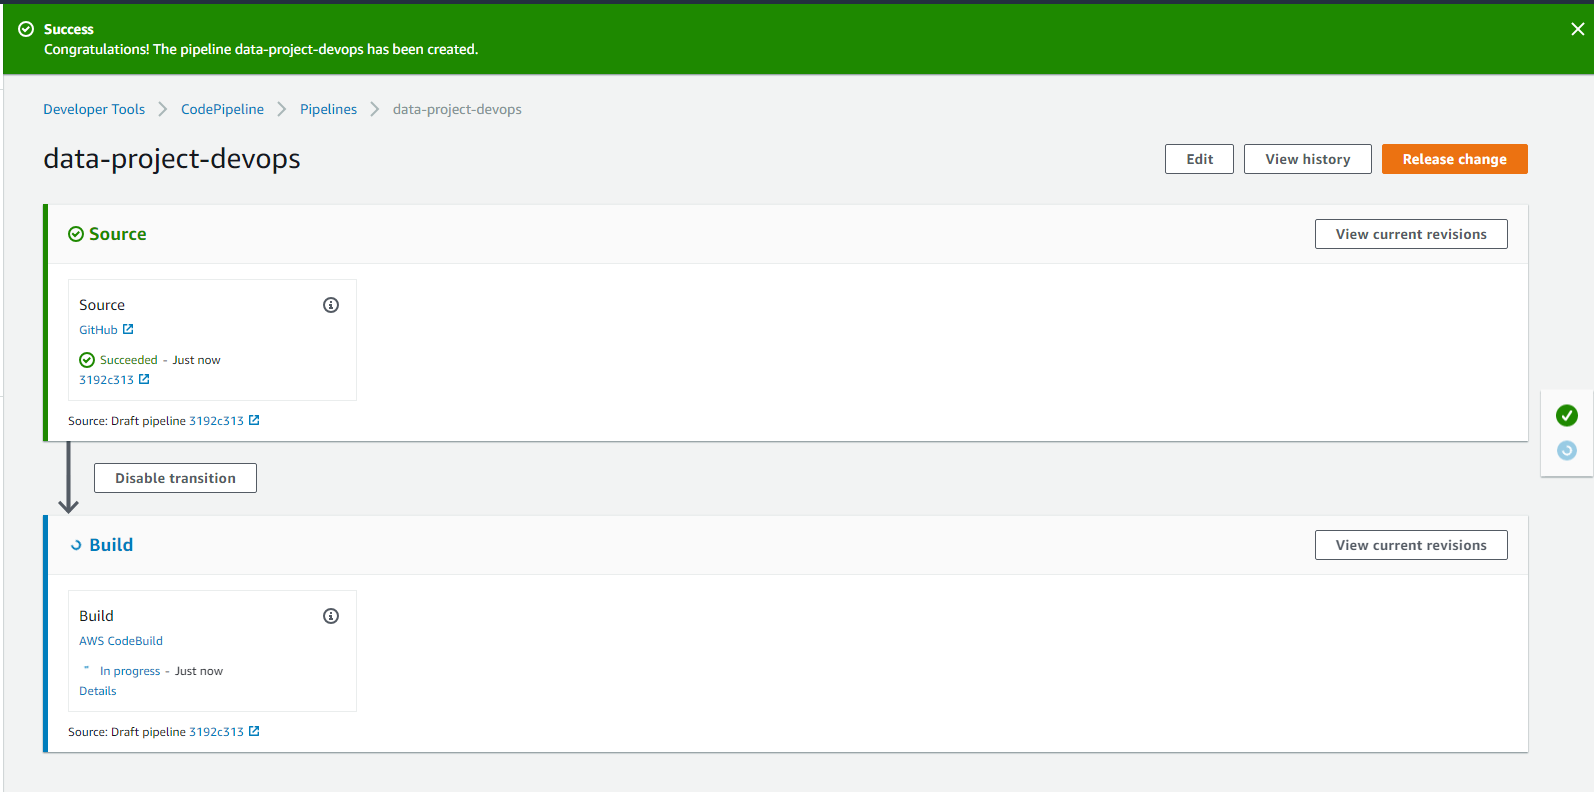
Pipeline successfully created!
Conclusion
In this post, we analyzed the benefits of implementing a DevOps culture and adding Continuous Integration (CI) and Delivery (CD) to our data-driven projects. We saw the benefits of having an automated and repeatable process to build, test, and deploy every piece of our project. Additionally, I presented a brief description of the process to use CI and CD in a data-driven project. This process comprised the use of great tools and libraries such as make, anaconda, boto3, moto, etc.
The intention of this and future posts is to show that common software engineering practices such as CI and CD can be easily added to any machine learning project and to show that any machine learning project can be easily converted into a data product that can be both feasible and profitable.
Finally, I have intentionally omitted some details related to the implementation of this project. I am leaving these as an exercise for the reader. The entire project can be found at:
jpcedenog/data-project-devopsFurther Reading
[1] Continuous Delivery: Reliable Software Releases through Build, Test, and Deployment Automation
[2] Daily Build And Smoke Test
[3] Continuous Integration: Improving Software Quality and Reducing Risk
[4] Continuous Deployment at IMVU: Doing the impossible fifty times a day
[5] Climbing the 'Stairway to Heaven' -- A Multiple-Case Study Exploring Barriers in the Transition from Agile Development towards Continuous Deployment of Software